Bevel Lettering Tutorial 4: Inline Fill Brush
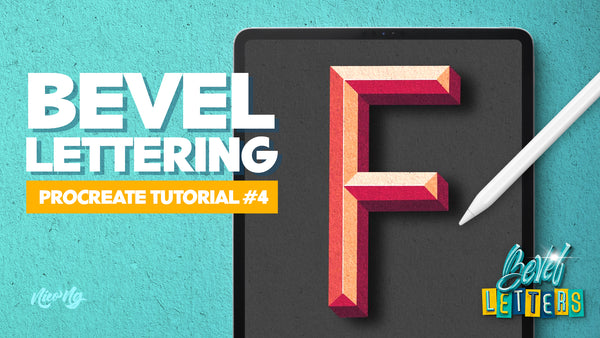
Create your 4-color bevel letter with a highlighted inline using the Inline Fill Brush. This brush is available in round, square, and variable brushes. After creating the bevel letter, let’s add a 3D effect, shadow, and texture.
Just follow the steps below or watch the demo video at the bottom.
How to use the brush:
Step 1
Draw your letter guide using the Inline Fill brushes with brush opacity at 50%.

Step 2
Create a new layer and trace the outline of your letter with a pen brush.

Step 3
Create a new layer and trace the inline of your letter and duplicate that layer.

Step 4
Fill the letter layer black and invert the inline color to white.

Step 5
The inline divides the letter into two sides. Using the inline layer, color one side of the bevel gray.


Step 6
Color the faces: you can pick the colors yourself or use the Color Shades brushes to make a quick color guide.

Step 7
Color the ends of the letters on a new layer first. Draw a triangle and fill it with the correct color. Use clipping mask on the layer to hide the excess lines.

Step 8
Select the gray layer and turn on Alpha Lock. Color the bevel faces correctly. You can use the color picker to grab the correct color on the sample colored bevel.

Step 9
Select the layer of the base letter and turn on Alpha Lock. Color the bevel faces correctly.

Step 10
If you have curved elements, use the smudge tool (in a Blender Brush) to blend the two colors on the curved parts of your bevel lettering.
Step 11
Color the background.

Add Extra Effects!
Step 1
Add a 3D effect by duplicating the layer, then move the bottom duplicate in a diagonal direction.

Step 2
Recolor the layer by selecting a darker color, then tap the layer to turn on Alpha Lock and Fill (Turn off Alpha Lock after). Use the “3D Filler” brush to connect the layers’ edges and corners with one simple stroke.

Step 3
With the Clipping Mask on, brush the shadows on a new layer above the 3D layer and smudge the colors if necessary.

Step 4
Create a cast shadow by duplicating the letter layer and moving the bottom layer at an angle. Color it black, add Gaussian Blur, and reduce opacity to 65%.

Step 5
Add texture to your bevel lettering by brushing grains on a new layer on top. Set the blending mode to Overlay and opacity at 35%.

Step 6
(Optional) Recolor your lettering by using Gradient Map and pick Blaze.

Step 7
(Optional) Add a paper texture on a new layer to the top, and bring the opacity down to 60% to 70%.

Watch the demo video here:
Try this yourself! I would love to see your version of this bevel style. Share your work and tag me at @nicong.co! If you have any questions, feel free to drop them in the comments below.
UP NEXT: Inline Light Brush Tutorial

Start creating awesome bevel lettering designs easily with our new Bevel Letters Procreate Brushes and Stamps!
